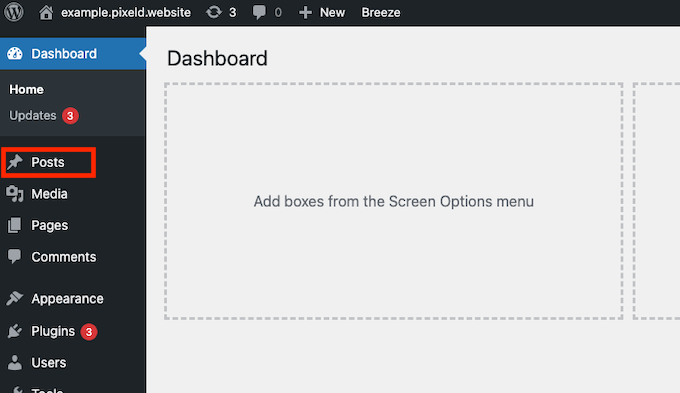
Goto Posts page: After logging in to the WordPress backend, navigate to the "Posts" page by clicking on the Posts tab on the left hand side.
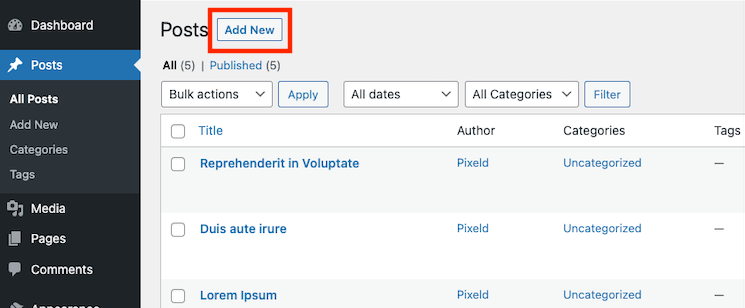
Click "Add New": Once you are on the Posts page, click on the "Add New" button at the top of the page. This will take you to the post editor, where you can start creating your new post.
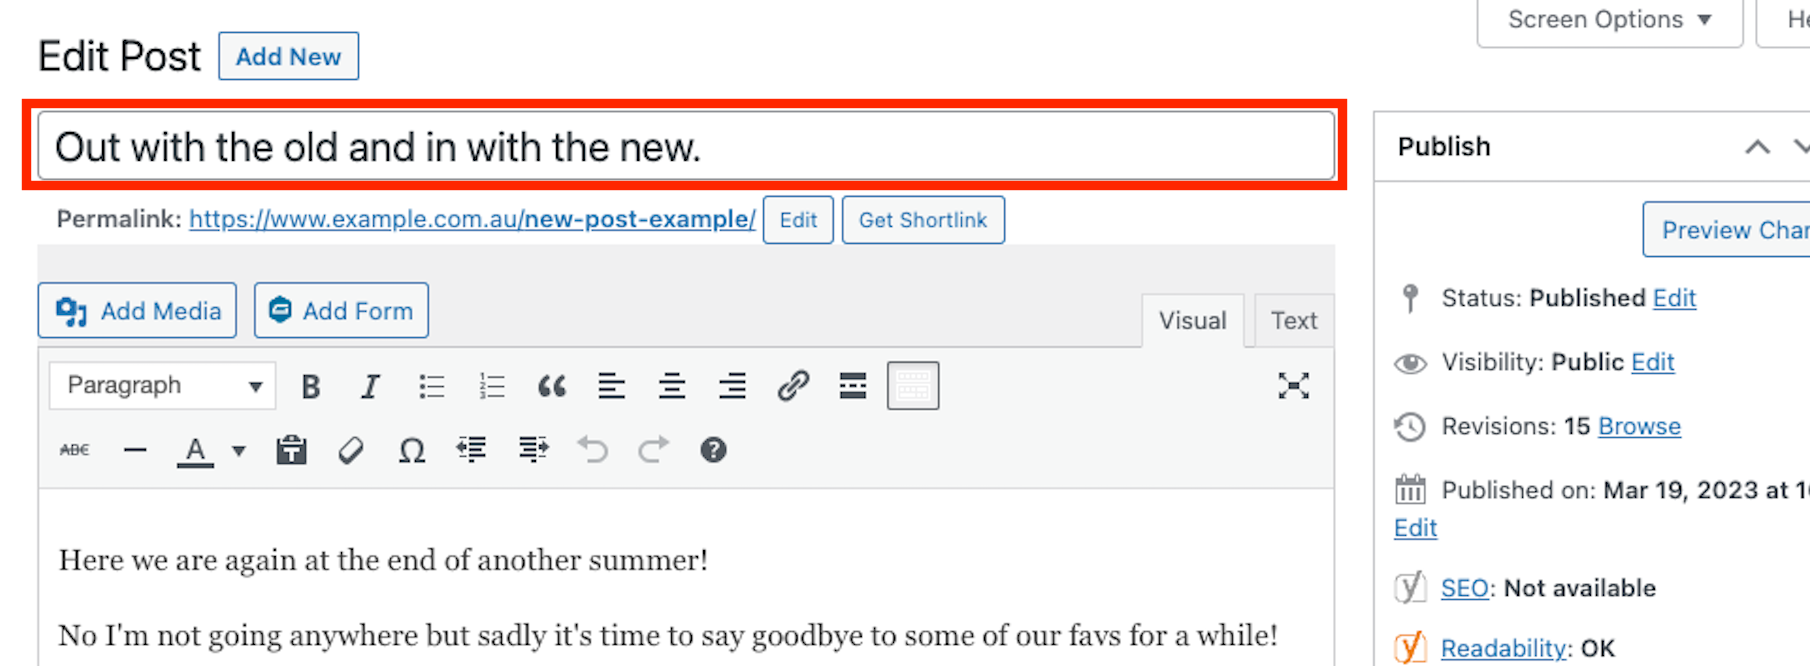
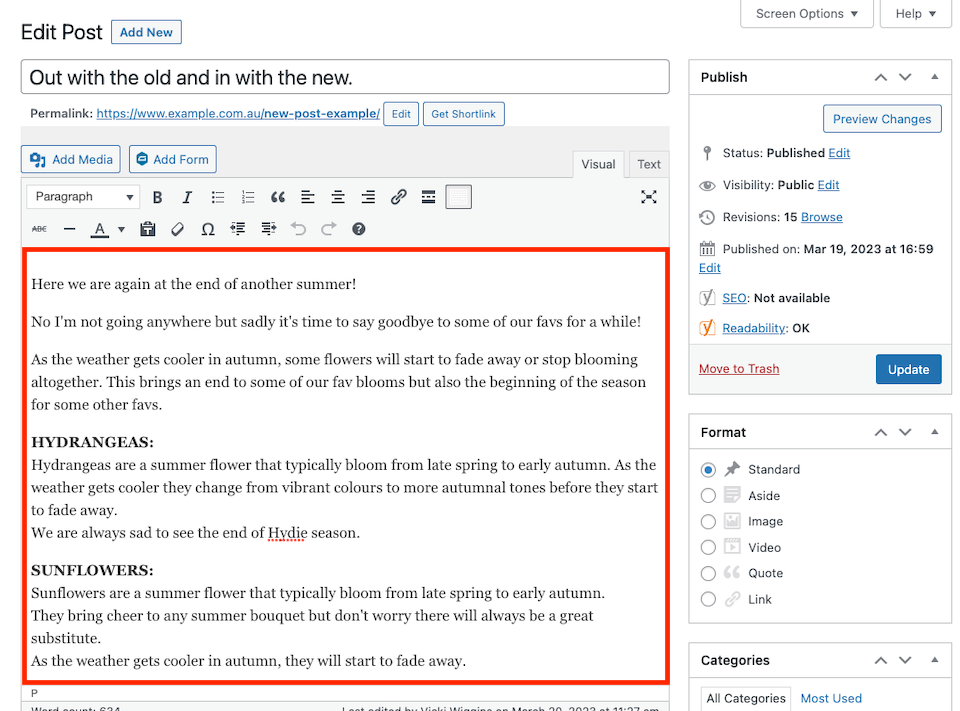
Add page title: The next step is to add a title for your post. This should be a concise, attention-grabbing title that accurately reflects the content of your post. This will be the featured title shown above the article and on any associated links throughout the website.
Add post body: After you have added your post title, you can start adding your post content to the editor. You can add text, images, videos, and other types of media to your post by using the "Add Media" button in the editor.
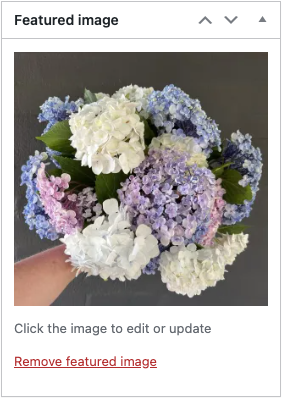
Add Featured Image: Adding a featured image to your post is a great way to make it more visually appealing and help it stand out. To add a featured image, simply click on the "Set Featured Image" button in the editor and choose an image from your media library.
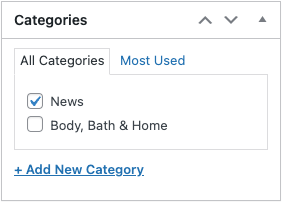
Add a Category: Post categories allow you to categorise your post according to the topics or themes it covers. This can make it easier for readers to find other posts on similar topics on your website. To add a category, simply select one or more categories from the list in the Category metabox.
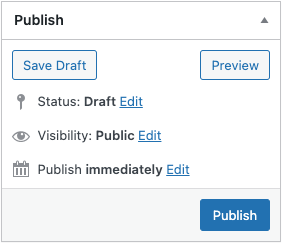
Publish: Scrolling to the top of the page, the publish options allow you to control when your post is published and whether or not it is visible to the public. You can choose a date and time for your post to be published, or you can save it as a draft and publish it later.